
This tutorial will show you how easy it is to create animations on components of Xojo web apps, thanks to the use of the Style Editorand the WebAnimatorclass. Learn how to do a fade effect between two images that you can expand and adapt to your web apps.
In order to recreate this fade effect we’ll mainly use a couple of styles (WebStyleclass) to set the initial status for each one of our images (instances from the WebImageViewclass). These will be overlaped in the web page, sharing the same position. Then we’ll add a button to the web page so it will fire the animation every time it is clicked.
Let’s see how we can do this, step by step.
Creating Styles
The style creation process is really simple in Xojo Web thanks to the integrated Style Editor. For example, drag two instances of a WebStyle from the Library panel to the Navigator (the leftmost column in the Xojo IDE). Now select the first of these style instances in the Navigator and you will see the Style Editor.

The first thing to do is change the style name using the Nameattribute in the Inspector. For example, type ZeroOpacityas the name. As you can guess, this will be the style that applies a 0% of opacity on any control it is attached to. For this, access the properties popup menu and click on the Add Propertybutton in the Editor then select the Opacityoption under the Miscellaneous section. The Editor will add the property to the editor, where we only need to set the value to 0%.
Repeat the process for the second style, except that in this case the name will be MaxOpacity, leaving the default value associated with the Opacityproperty once the style has been added.
As you can see, the Style Editor also allows us to create styles that implements other additional properties like fonts, shadows, color, borders, etc., with several variations for every possible status of a control: Normal, the cursor is over the control, the control has been clicked, or is an already “visited” link, for example. These are the common statuses for any object or control on a web page of a web app.
Applying Styles to Controls
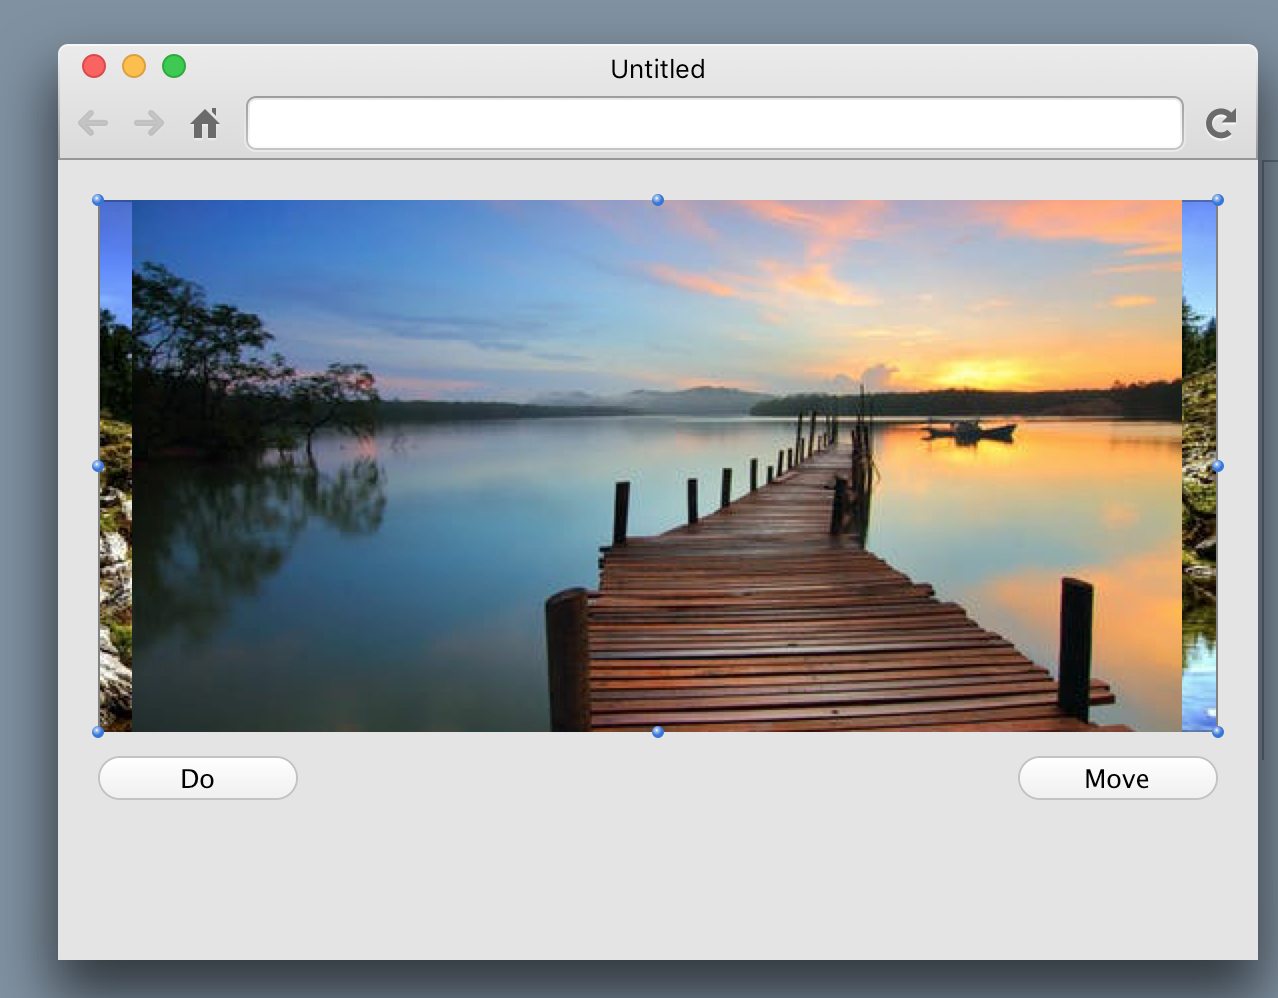
With the webpage added by default to the project selected (WebPage1), add two instances of the WebImageViewcontrol from the Library to the web page. Set their sizes so they are the same, and set their positions so they are located in the same place (Left and Top properties). Next, add two images to the web project; it is best if they have the same size as the one set to the WebImageView instances.
The next step is setting each image to each WebImageViewinstance, at the same time that we set the style created in the previous step to each one of these instances. Both operations are done using the Inspector.
Choose the first of these instances, ImageView1and in the Inspector choose one of the two added images selecting the popup menu associated with the Pictureproperty under the Behaviorsection. Next, select the ZeroOpacitystyle option in the Stylepopup menu under the Style section.
Repeat this operation for the ImageView2instance and use the Inspector to select the other image and the style MaxOpacity.
Starting the Animation object
The use of the WebAnimatorclass is really easy. Just set a control derived from the WebControlclass over we want it to work in order to apply any operation of Scale, Movement, Resizing, Rotation… and also animate its opacity value. That is what we want to achieve in this example. Then set the amount of time for the animation (in seconds) and the value of the attribute or attributes we want to modify (for the opacity, only set one property).
Of course the animation can be smoothier (or more detailed) using keyframes references. The best part is that the animations are done in the client side of the web app; that is, the browser. This means that you’ll be away from latency derived problems or communication speed problems because the app doesn’t needs to talk with the server.
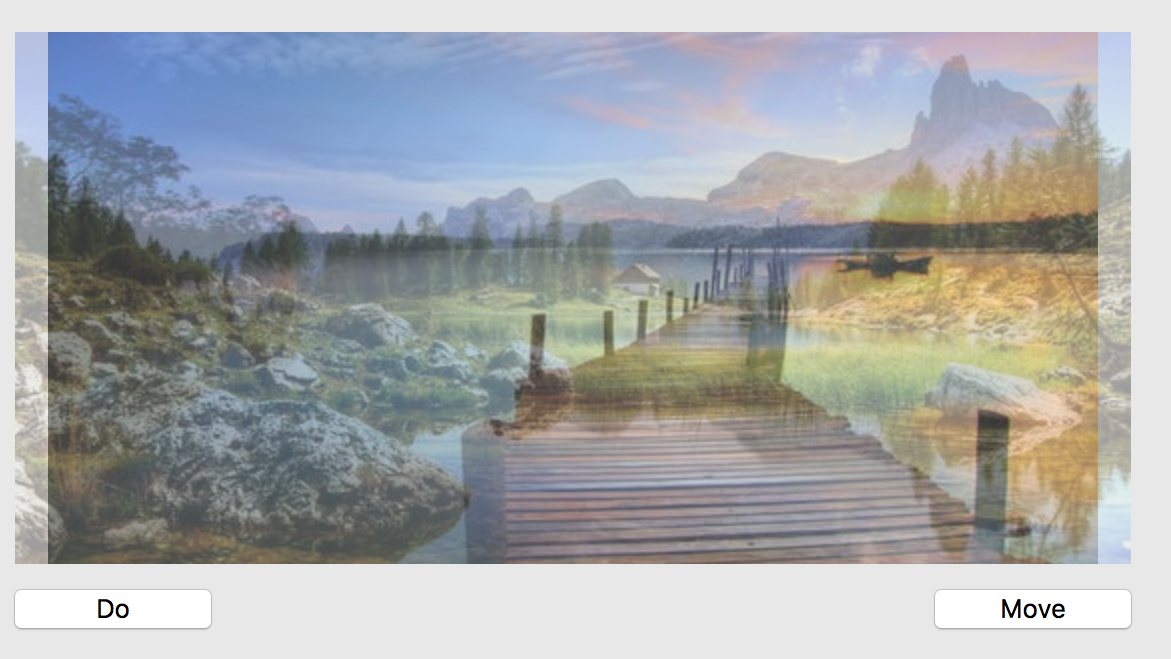
For our example the operation is really simple. Once we create the instance from the WebAnimatorclass (drag it from the Library to the Webpage1, so it is added to the Shelf in the bottom of the Editor), we will animate the image in the upper position (with the Style at 100% opacity) to a 0% opacity. Then, animate the second image, in a lower layer, doing exactly the opposite so its opacity gets a 100% value. Once the animation has finished, we will change the variables in charge of setting the opacity level for each image, so the process is reversed the next time the button is clicked.
Thus, we can add the ActionEvent Handler to our button (use the Insert > Event Handler menu option for that), and add the following snippet of code to it using the Code Editor:
Static first As Integer = 0 // Variable to set the opacity to a 0%
Static second As Integer = 100 // Variable in charge of setting the opacity to a 100% value

Animator1.Opacity(ImageView1, first, 1) // We set the property we want to animate into the Animation instance
Animator1.Play // And execute it so it efectively animates the opacity property to the passed value
animator1.Opacity(ImageView2,second, 1) // We repeat the process for the second image
Animator1.Play
If first = 0 Then // And we interchange the variables values, so they do the opossite action next time the Event Handler is called
  first = 100
  second = 0
Else
  first = 0
  second = 100
End If
Of course, you can expand it (or adapt the code) so it is more flexible if you decide to include, for example, the ImageView controls into a ContainerControl, or you add an Array to the mix in order to apply this fade effect to more than just two images, even at a specified period of time. Do you dare?

Related Posts / Entradas Relacionadas

 August 14, 2019 Web: Create Sliding-Animated Menus
 August 14, 2019 Tip: How To Deal with A Lot of Columns in Database Tables
 October 8, 2018 Guardar imagen de WebCanvas a Disco
 August 20, 2019 AXImageCanvas: The Supercharged Canvas With Database Binding
 August 14, 2019 Tutorial: Saving WebCanvas Images to Disk