
Sometime ago a Xojo user asked if it is possible to use Xojo Web to create the kind of animated menus seen in several regularwebsites. After some investigation (and the invaluable help of Greg O’Lone), the answer is: yes, you can do that! If you are interested in seeing how to achieve this, continue reading!
We’ll start with a WebContainer, responsible for including all the menu elements. For this particular example, a couple of WebLabelcontrols that when clicked, will display the associated web page; a templateweb page (WebPage), that will be used to create all the web pages driven by the menu so they can display all the common elements; a couple of Web styles, to set the menu opacity and menu items text color; and a bit of JavaScriptto animate the menu itself.
Creating the styles
With Xojo running with a new Web project, we will start adding a couple of styles (WebStyle) to the project from the Library. Select the first of the just added styles in order to access the Styles Editorand change the Nameproperty to MenuStylein the Inspector. Now, add the Backgroundproperty using the Style editor and set the background color to the one you want to use. Maybe you want to set the Opacity property so it is not 100% solid when the menu is displayed over the webpages.
Choose the second style in the Navigator and change its Nameproperty to TextWhite(or other name of your election) in the Inspector, setting the Text Colorproperty to the one you want (white in the example). This is the style to be applied on the WebLabelcontrols of the menu.
Creating the WebContainer-based menu
Add now a WebContainer from the Library to the Navigator. This is the control that will include all the links to the webpages of the web app; and also will contain the button responsible of closing the menu using a sliding animation on the right side of the webpage. Of course, you can easily change these UI controls to other ones that fits better in your app design.
With the WebContainer selected in the Navigator, use the Inspector to set the following properties:
- Name: CCMenu
- Style: MenuStyle
You don’t need to modify the size of the control; this is something we will set using the control locking options in the Inspector once we add it to our template webpage.
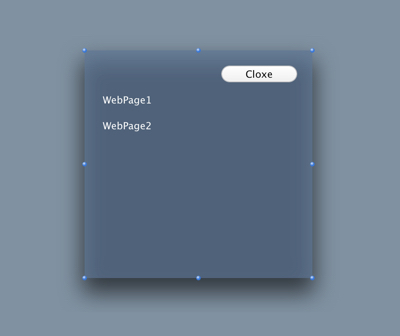
The next control that we add to the WebContainer is the button that will hide the menu, and also the WebLabels that will link to the webpages we want to drive from the menu. Don’t forget to set the property Styleto TextWhite(or the name set in the previous step) to the WebLabels using the Inspector.
At this point, the WebContainer CCMenushould be similar to the one displayed in this screenshot:
Adding Behavior to the Menu
The next step is adding the behavior to the WebContainer, so it is hidden or displayed when directed from our web app; so add the a new method to the CCMenuWebContainer using the following signature:
ShowMenu( show as Boolean = True )
And set its Scopeto Private. Then, write the following snippet of code in the associated Code Editor:
Dim sa() As String
// We get the unique ID for the WebContainer
sa.Append "var el = document.getElementById('" + Me.ControlID + "');"

// accessing its Style property
sa.Append "var st = el.style;"

// If the 'show' variable is set to True, then
// that means that we want to display the menu
If show Then
  // we set the position and animation properties
  // so the menu is displayed sliding from
  // the right margin of the webpage
  sa.Append "st.transitionProperty = 'right';"
  sa.Append "st.transitionDuration = '1s';"
  sa.Append "st.transitionTimingFunction = 'ease-in-out';"
  sa.Append "st.right = '0px';"
Else
  // If the value is set to False, then
  // we will hide the menu, sliding it outside
  // of the right bound of the webpage
  sa.Append "st.right =  '-" + str(me.width) + "px';"
End If

// we compose the JavaScript sentence to execute
Dim js As String = Join(sa, "")

// executing it on the current webpage
ExecuteJavaScript(js)
While this is the method in charge of doing the real work, we will add a couple of convenient public methods to make more explicit the task of displaying and hiding the menu. Add thus the first of such methods to the WebContainer CCMenuusing the following values in the associated Inspector:
- Method Name: Show
- Scope: Public
And put this line of code in the associated Code Editor:
ShowMenu(True)
That is, it will call the previously created private method passing along the Truevalue, so it will instruct to display the menu.
Add the second method, using these values:
- Method Name: Hide
- Scope: Public
And put this line of code in the associated Code Editor:
ShowMenu(False)
These are all the methods needed. Now select the button added to the WebContainer and change its name to Closefrom the Inspector Panel. Next, add the ActionEvent Handlerto it and write the following line of code in the associated Code Editor:
Hide
That is, when the web app user clicks the button it will call the method in charge of hiding the Menu.
Now is time to add the functionality to the labels responsible for showing the associated webpages; that is, the menu option themselves. For this, we are using a really simple approach in order to simplify the example and focus in the main topic of this tutorial. For this, the text displayed by the labels is the name of the webpages to be displayed. Select the first of the labels and set the following property using the Inspector:
- Text: WebPage1
Adding next the MouseDownEvent Handler and writing the following couple of lines of code in the associated Code Editor:
If Me.Page.Name = Me.Text Then Exit

WebPage1.Show
Now repeat the process for the second label setting the following property from the Inspector:
- Text: WebPage2
And this code in the associated Code Editor for the MouseDownEvent Handler:
If Me.Page.Name = Me.Text Then Exit

WebPage2.Show
Now we have everything we need for our example menu.
Creating the Template Webpage
Now it is time to add the webpage acting as a templatefor all the app webpages subclassedfrom it using the menu.
Add a new WebPage to the project from the Library and change its name to WPBaseusing the Inspector. Next, add the CCMenuWebContainer to it from the Navigator and a button from the Library, so the result is similar to the one displayed in the following screenshot:
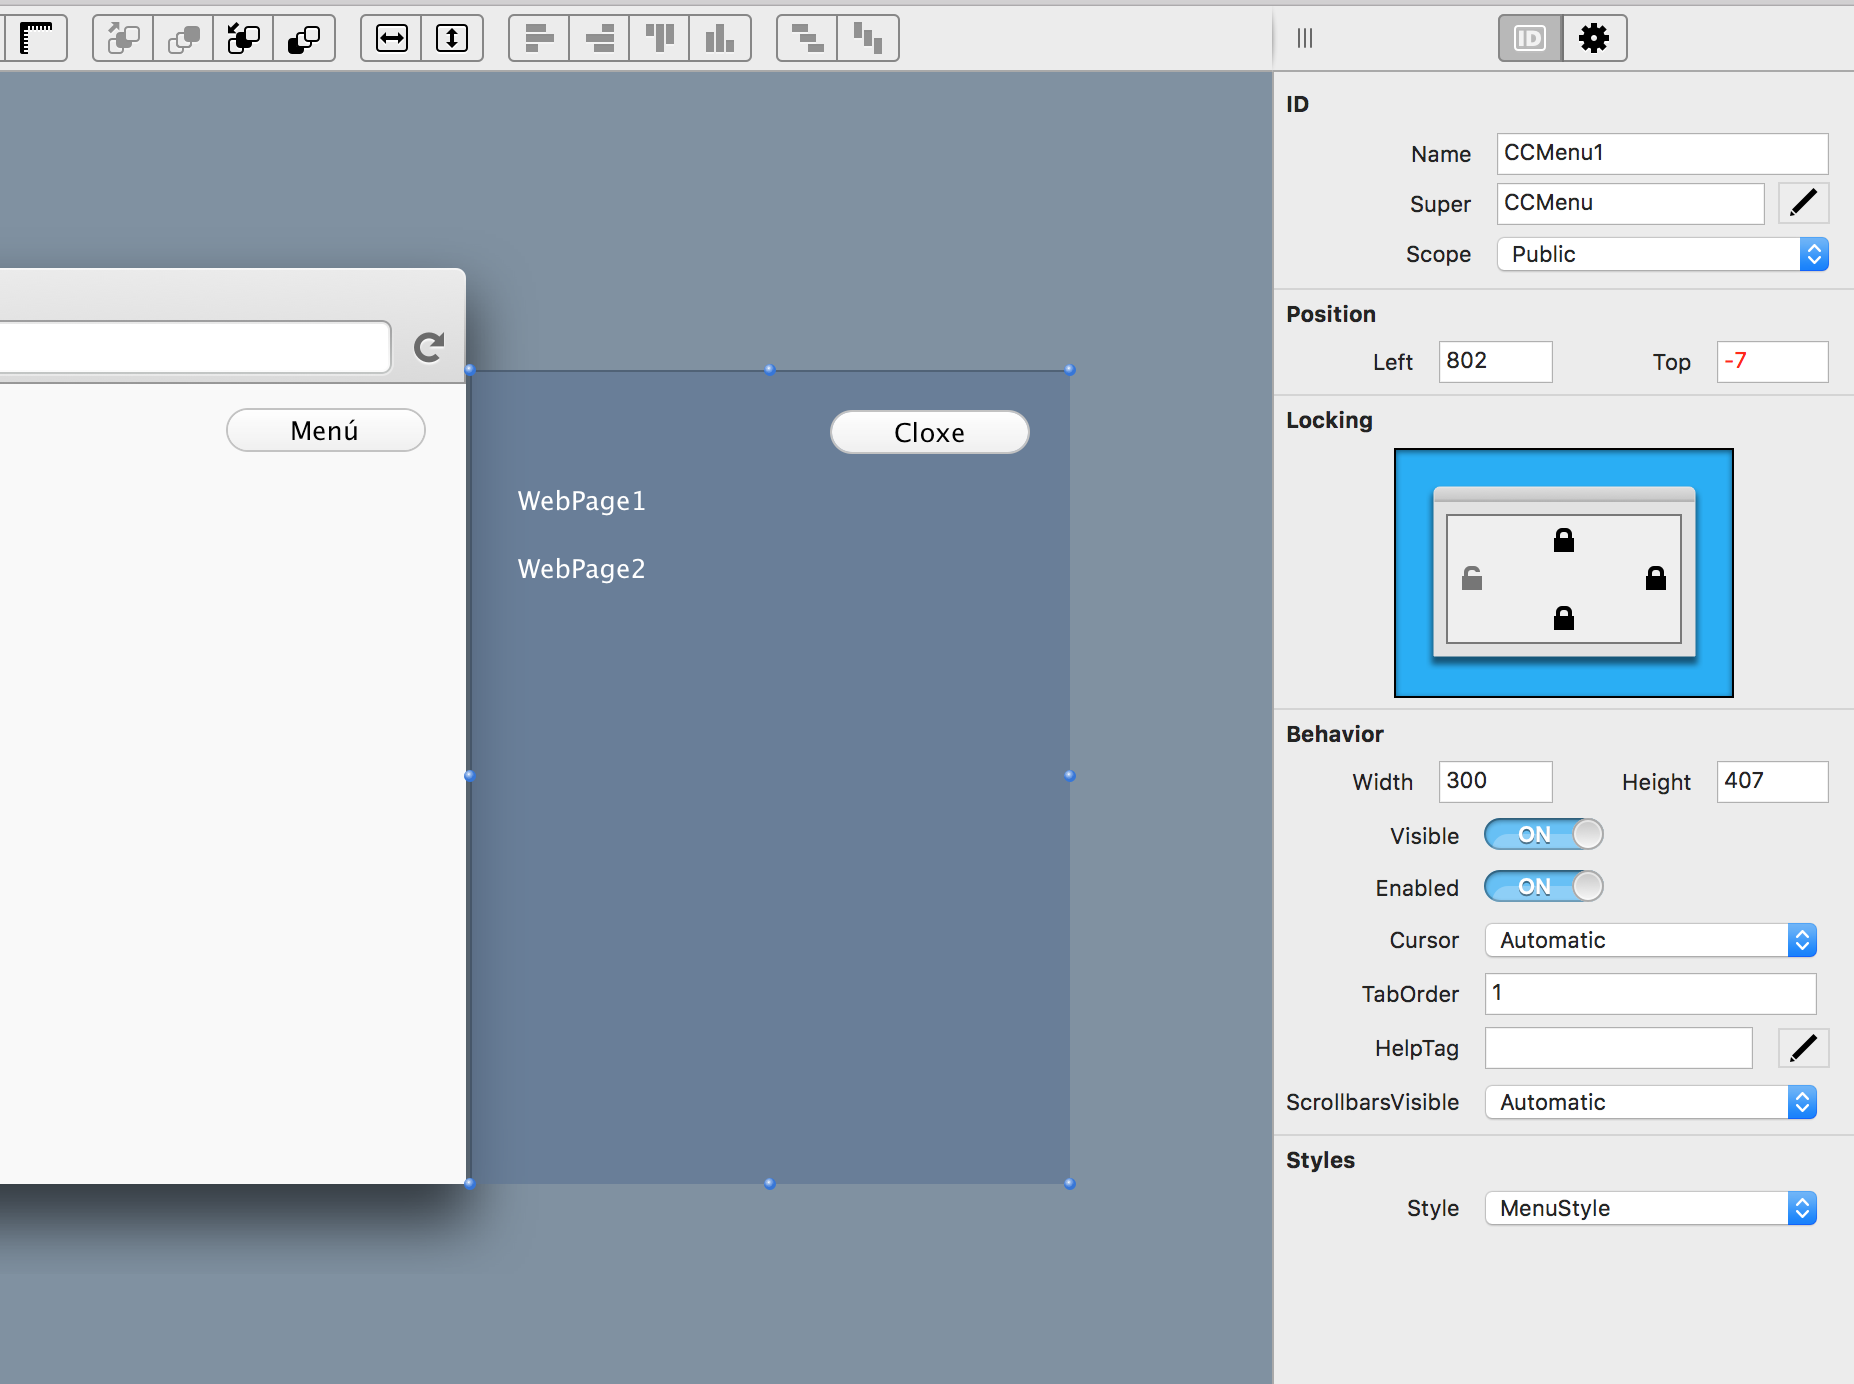
Notice the Locking values for the added WebContainer displayed in the Inspector on the screenshot, so it is lockedto the same width and height of the webpage when we run the app.
Select now the button and add the ActionEvent Handler writing the following line of code in the associated Code Editor:
ccmenu1.Show
As you can see, this simply calls the public show method previously added to the CCMenuWebContainer, so it displays the menu. This is everything we need to do.
Creating the Example WebPages
We have mainly everything we need to run our example. We just need to add a couple of additional webpages to the project from the Library. Change its names to WebPage1and WebPage2, because this is the property whose value has to match with the text of the labels added to the menu, in order to show the right page from the menu.
The main point here is set the Superproperty for both webpages to WPBase, so they inheritall the elements from the templatewebpage created in the previous step. Finally, add any controls you want to each webpage simply so you can distinguish one from other when selected from the menu.
Click the Runbutton in the Xojo IDE toolbar and test the menu! You can download and play with the project this tutorial is based on from this link.
Related Posts / Entradas Relacionadas

 August 14, 2019 Animating the Web: Fading Images in-out
 August 14, 2019 Control Sets and ContainerControl: A New Approach
 August 14, 2019 Canvas: How to Create Custom UI Controls
 August 20, 2019 AXImageCanvas: The Supercharged Canvas With Database Binding
 May 22, 2025 Tutorial: Crear un Control personalizado de Botón en Xojo (Tercera Parte)